Live streaming events on platforms like Twitch has become an essential way for event organizers, musicians, and creators to engage with audiences worldwide. Whether you’re hosting a music festival, a business conference, a gaming tournament, or any other live event, streaming it on Twitch provides an exciting opportunity to extend your reach and connect with global fans in real time.
Setting up your live event to stream on Twitch involves technical preparation, audience engagement strategies, and ensuring your broadcast runs smoothly. This guide will walk you through the key steps to ensure a seamless and professional live streaming experience for both your event and audience.
1. Create and Set Up Your Account for Twitch Live Event Streaming

Before you can start streaming, you need to have a Twitch account. Here’s how to set it up:
- Create a Twitch Account: Go to Twitch.tv and sign up for an account if you haven’t already. You’ll need a valid email address, username, and password.
- Set Up Your Profile: Customize your Twitch profile with branding (such as a logo, banner, and description) that reflects your event or organization. Having a branded, professional profile will make your stream feel more cohesive and engaging.
- Enable Two-Factor Authentication: Twitch requires two-factor authentication for added security, which helps protect your account and prevent unauthorized access.
- Stream Key: Once your account is ready, you’ll need to get your Stream Key. This unique code allows your streaming software to connect to Twitch and broadcast your event. You can find it in your Twitch dashboard under Settings > Stream.
Additionally, ensure you are using an updated browser for optimal performance, as an outdated browser may prevent you from accessing certain functionalities or viewing the site correctly.
2. Choose Your Streaming Software

To stream your event on Twitch, you’ll need streaming software that connects to your camera, microphone, and other sources to deliver the live video feed. There are several popular streaming programs to choose from, each with different features. The most commonly used software includes:
- OBS Studio (Open Broadcaster Software): A free, open-source, and highly customizable option that works well for beginners and professionals alike. OBS allows you to capture multiple video and audio sources, create scenes, and stream to Twitch with ease.
- Streamlabs OBS: Based on OBS Studio, Streamlabs OBS offers a more user-friendly interface and additional features like built-in alerts, themes, and integrations with Twitch.
- XSplit: Another popular choice, offering both free and paid versions, with more premium features like higher-quality encoding and production tools.
Once you’ve chosen your streaming software, you’ll need to connect it to your Twitch account using the Stream Key. This will allow you to send the live feed from your software to Twitch’s platform. Additionally, you can share your streaming sessions by sharing links to your Twitch streams, making it easy for your audience to join and watch.
3. Set Up Your Hardware for Streaming
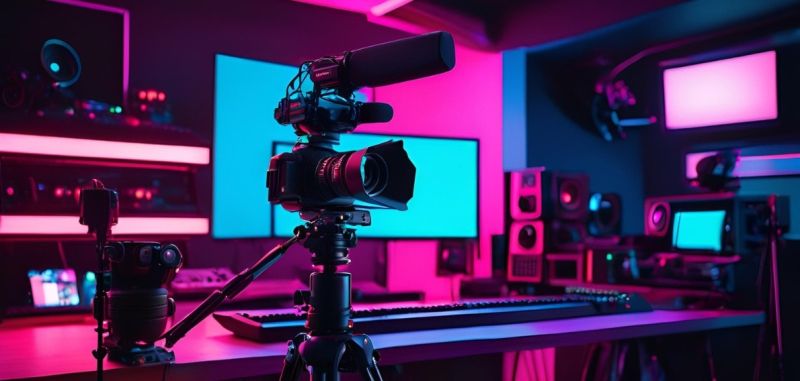
The quality of your live stream depends heavily on the equipment you use. Here’s what you’ll need:
Cameras and Audio Equipment
- Cameras: Whether you’re using a professional video camera, DSLR, or even a smartphone, ensure your camera is capable of high-quality streaming (1080p is a standard for most events). If you have multiple cameras (for different angles or perspectives), consider using a switcher to manage the transitions. Sharing high-quality video can help streamers connect with their audience more effectively.
- Microphones: Clear audio is essential for streaming. Use high-quality microphones (such as lavalier mics for speakers or shotgun mics for larger events) to ensure the sound is crisp. For best results, avoid using built-in camera mics, which can pick up unwanted noise.
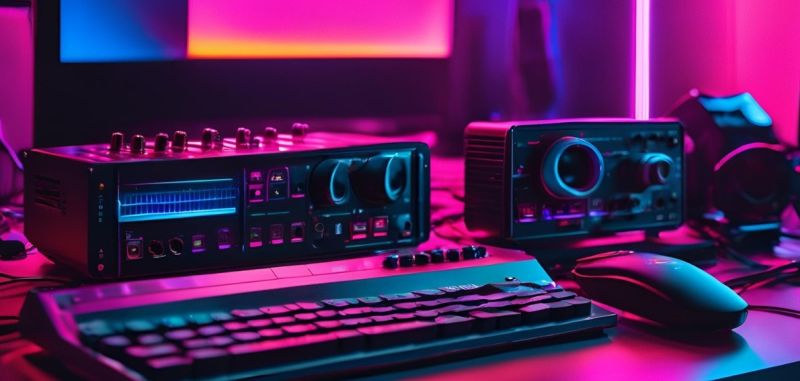
- Audio Interface/Mixer: If you’re working with multiple audio sources (e.g., from a band, speaker, or video), you may need an audio interface or mixer to manage and balance sound levels. A good mixer ensures your stream has balanced audio without distortion or sudden volume spikes.
Lighting
- Lighting: Proper lighting is crucial for a high-quality stream. Invest in softbox lights, ring lights, or other professional lighting solutions to illuminate speakers, performers, or presenters. The right lighting makes a huge difference in the visual quality of your stream.
Encoder
- If you’re streaming from a dedicated camera, you may need an encoder like an Elgato Cam Link or other capture cards, which transmit the video feed from your camera to your streaming software. Most cameras can’t connect directly to streaming software without an encoder, so make sure you have the right tools to capture the video feed.
Internet Connection
- Stable and Fast Internet: A strong and stable internet connection is critical for a smooth stream. Aim for at least a 10 Mbps upload speed for a 1080p stream. If you’re streaming multiple cameras or heavy video, you may need even more bandwidth.
- Ethernet Connection: For optimal performance, use a wired Ethernet connection rather than relying on Wi-Fi, which can be unstable during live streaming.
4. Configure Your Stream Settings in Twitch’s Streaming Software
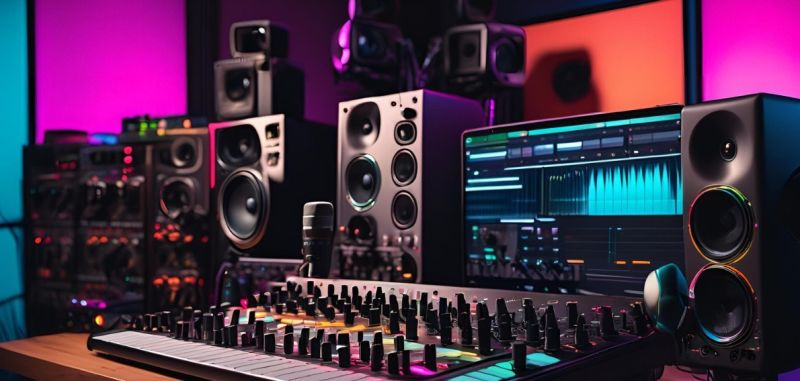
Once your hardware is set up and connected to your streaming software, it’s time to configure the settings:
- Resolution and Frame Rate: Set the stream resolution to 1080p (1920×1080) at 30fps or 60fps for high-quality video. Choose the setting based on your available bandwidth.
- Bitrate: The bitrate determines how much data is transmitted per second during the stream. Twitch recommends a bitrate of around 4500-6000 Kbps for a 1080p stream at 60fps.
- Audio Settings: Ensure that your audio input (from your microphone, mixer, or other sources) is properly routed to your streaming software. Check the audio levels to avoid distortion or audio clipping.
5. Set Up Stream Overlays and Alerts
Adding custom overlays, alerts, and graphics can elevate your Twitch stream’s look and feel. Overlays are graphical elements that appear on top of your video, such as lower thirds, logos, and event branding.
- Overlays: Use tools like Streamlabs or buy pre-made templates to customize the visual elements that will appear on screen. These could include a branded event logo, social media handles, and a countdown timer for upcoming segments.
- Alerts: Set up alert notifications for when viewers follow, subscribe, or donate to your stream. These interactive elements make the audience feel more engaged and excited to participate.
- Scenes: Organize your stream into different scenes to switch between various shots—e.g., a camera angle, slides, or videos during presentations, or even behind-the-scenes footage.
6. Engage Your Audience During the Stream

An engaging live stream is more than just broadcasting content—it’s about interacting with your audience in real-time. Providing support to viewers is crucial to enhance their experience.
- Live Chat: Encourage viewers to interact via Twitch’s live chat. Assign a moderator to ensure the conversation stays friendly and respectful.
- Polling and Questions: Run live polls or Q&A sessions where viewers can submit questions or vote on topics in real-time. This adds an interactive element to the event.
- Social Media Integration: Promote your stream on social media platforms to encourage engagement. You can also display real-time social media feeds (such as Twitter hashtags or Instagram posts) on your stream.
7. Test and Rehearse Before The Live Stream

Once the event begins, it’s crucial to monitor your stream’s performance closely:
- Stream Health: Use Twitch’s Stream Manager to check the health of your stream, including whether there are any issues with the video or audio.
- Viewer Interaction: Stay on top of the live chat and make sure your team is responding to questions or comments in real-time.
8. Promote the Stream
To ensure you have a solid viewership, promote the event in advance:
- Announce your Twitch stream on all your social media platforms and via email.
- Create eye-catching promotional graphics or videos to generate interest.
- Partner with influencers or artists to cross-promote your stream.
9. Post-Event Follow-Up

After the event, you can save and archive your stream on Twitch for viewers who may have missed it. You can also use clips from the stream for highlights or social media promotions.
Additionally, review the performance of your stream, gather feedback from viewers, and analyze analytics (such as viewer count, engagement, and chat activity) to improve your future streams.
Also Read: The Definitive Checklist To Setting Up And Streaming An Online Event
Streaming your live event on Twitch is an incredible way to reach a global audience, engage with your community, and create lasting memories. By following these steps—setting up your account, preparing your equipment, configuring your streaming software, and engaging with your audience—you can ensure a professional and seamless live event experience. Whether you’re hosting a music festival, conference, or any live event, Twitch offers a powerful platform to amplify your reach and bring your event to life for audiences around the world.
You May Also Like:
Music Event Technology Trends 2025: Innovations Shaping the Future of Live Music Experiences
Optimizing Music Event Page SEO: How to Maximize Search Engine Visibility
5 Technological Innovations That Will Create A Better Experience At Your Event


 25th March 2025