Visual content can make or break the atmosphere at any festival, especially in the electronic music scene where giant LED walls pulse with graphics and projection mappings transform stages into otherworldly landscapes. Ensuring these visual elements run smoothly requires meticulous planning and technical foresight. This article shares expert advice on building unbreakable content pipelines for projection and LED displays at festivals. From choosing the right equipment to coordinating with artists and preparing fail-safes, these insights will help festival producers deliver stunning visuals that captivate audiences without a glitch.
Choose Pixel Pitches and Throws to Match Sightlines and Budget
A festival’s visual impact starts with selecting the proper screens or projectors for the venue and audience. LED pixel pitch and projector throw distance are two key factors that determine how clear and vibrant your visuals appear, as well as how much they cost:
-
LED Screens – Pixel Pitch vs. Viewing Distance: Pixel pitch refers to the distance between LED pixels on a screen, measured in millimeters, and it dictates how sharp the image looks at a given viewing distance. Smaller pixel pitch (e.g., 2mm–4mm) means higher resolution and is ideal for close-up viewing, but comes at a higher cost. Larger pixel pitch (such as 6mm, 8mm or more) is more affordable per square meter and can work beautifully when your audience is farther away. A good rule of thumb is that the minimum comfortable viewing distance in meters is roughly equal to the pixel pitch in millimeters. For example, a 5mm LED wall will look crisp to viewers about 5 meters (or more) away. At an outdoor EDM festival where the crowd is 20–30 meters from the stage, an 8mm or 10mm pitch screen can still deliver great visuals without anyone noticing individual LEDs, while significantly reducing rental or purchase costs. Always align pixel pitch with sightlines – if VIP guests or front-row attendees will be very close to the screen, invest in a finer pitch, or plan to elevate or set back the screen so no one is uncomfortably close.
-
Projection – Throw Distance and Brightness: If using projectors (for example, projecting visuals onto stage backdrops, decorations, or buildings), plan the projector placement and lens optics carefully. Throw distance is how far the projector needs to be from the surface to achieve the desired image size. Ensure your projector and lens combo can fill the screen or mapping surface from the mounting location available. For instance, in a large warehouse rave in Germany, you might rig projectors on truss behind the audience; you’ll need lenses with a long throw ratio to hit the stage without casting audience shadows. Conversely, at an indoor club event in Singapore with low ceilings, you may opt for short-throw lenses or ultra-short throw projectors to get a big image in a tight space. Match the throw to your sightlines – mount projectors high enough and at an angle that avoids people walking through the beam, and verify no structures or lights block the image path. Just as important is brightness: outdoor festivals in daylight require extremely high-lumen projectors (or better, LED walls) to compete with sunlight, whereas night-time or indoor shows can manage with moderate brightness. Calculate lumens needed based on screen size, ambient light, and content (dark visuals require more brightness). It’s often safer to have a bit more brightness than needed and run projectors at 80% power rather than maxed out – this prolongs lamp/laser life and provides a buffer if conditions are brighter than expected.
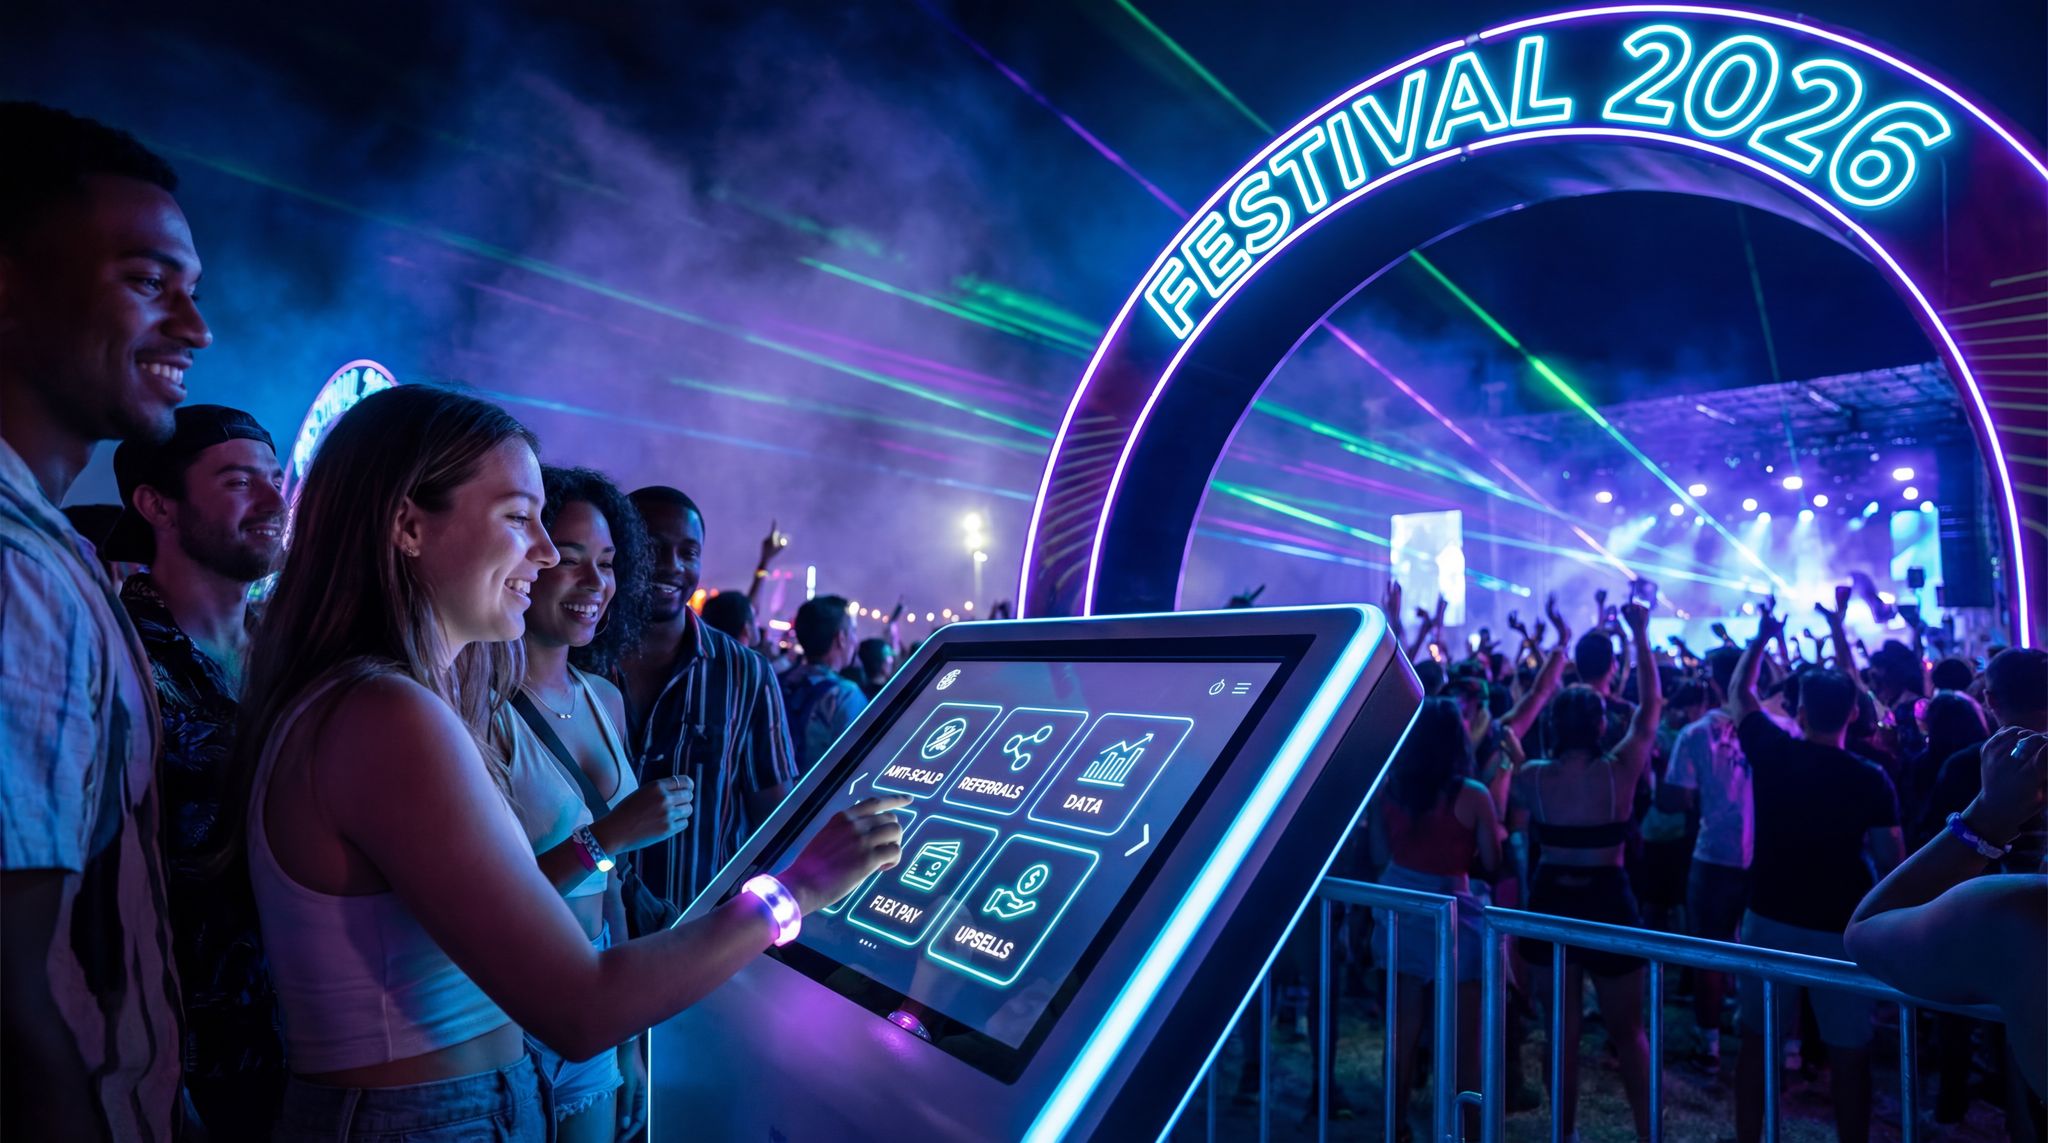
Data-Driven Event Marketing
Track ticket sales, demographics, marketing ROI, and social reach in real time. Exportable reports give you the insights to make smarter decisions.
-
Adapting a Projection System for Entertainment Venues: When outfitting a dedicated club, hybrid warehouse, or semi-permanent event space, venue operators must consider environmental factors that differ from one-off outdoor festivals. A projection system for entertainment venues needs to account for ambient architectural lighting, HVAC vibrations (which can knock projectors out of alignment), and varying stage configurations. For these spaces, investing in laser projectors with sealed optical engines is highly recommended. They require significantly less maintenance than traditional lamp-based models and maintain consistent brightness over thousands of hours of operation. Additionally, utilizing motorized lenses and saving preset focus/zoom positions in your media server allows your production team to quickly adapt the visual mapping when the room layout changes between a live band setup and a late-night DJ performance.
-
Balancing Budget and Visual Quality: High-resolution LED panels and powerful projectors can be expensive, so strike a balance between what looks good and what the festival can afford. For example, a boutique electronic music festival in New Zealand with a tighter budget might choose a slightly larger pixel pitch (say 6mm instead of 3mm) to afford a bigger screen that fills the stage – as long as the audience viewing distance makes that pitch acceptable. On the other hand, a technology-focused art festival in Japan might justify 2mm ultra-fine pitch LED for a stunning up-close interactive installation. Consider renting equipment if it allows access to better tech within budget. Always factor in sightlines – the goal is every attendee, whether they’re dancing at the front or chilling in the back, should have a clear view of the visuals. This might mean using multiple screens or projectors for wide venues or angled stages. For instance, some large-scale European festivals set up additional LED screens mid-field or use delay towers with screens, so that people far from the main stage still feel visually connected. Choose hardware that covers the venue effectively: sometimes two smaller screens positioned strategically can out-perform one giant screen that not everyone can see.
Planning a Festival?
Ticket Fairy's festival ticketing platform handles multi-day passes, RFID wristbands, and complex festival operations.
Build a Content Workflow with Artists and VJs (Formats, Codecs, and Deadlines)
Having the right screens and projectors is only half the battle – you also need to feed them with content smoothly. Festivals often feature a roster of DJs, live acts, and VJs (video jockeys) all bringing their own visuals or expectations for the on-screen content. Without coordination, this can turn into a chaotic last-minute scramble. To avoid that, establish a clear content workflow well before the event:
-
Set Content Specifications Early: Communicate to all artists or their VJ teams the exact specifications for visual content. This includes resolution (pixel dimensions that match your LED screen or projection), aspect ratio, frame rate, and preferred codecs/file formats. For example, if your LED wall is a 1920×1080 HD screen, request content in 1920×1080 to avoid stretching or letterboxing. If you’re doing an ultra-wide panoramic projection, provide the pixel dimensions they should work with (e.g., 3840×1080 or any specific pixel map). By providing templates or specs (even a simple one-page PDF of “Screen Content Guidelines”), you ensure that artists deliver media that fits your system. Common codecs for live events include high-quality MP4 (H.264) or QuickTime Photo JPEG, and increasingly festival media servers prefer image sequences or specialized codecs like HAP or DXV for smoother playback. Choose one or two formats that your playback software/hardware handles best and ask everyone to stick to those. Consistency here prevents the headache of last-second format conversions – for instance, discovering an hour before showtime that an artist brought a 4K ProRes file when you expected 1080p MP4 can throw a wrench into the pipeline. Avoid that by being crystal clear up front.
-
Enforce Deadlines for Content Submission: Make it a policy that all pre-recorded visuals or media files from artists are submitted by a reasonable deadline, days or weeks before the festival if possible. This gives your technical team time to test each piece of content on the actual system. In many large festivals (such as those in the US and UK), video teams set a cutoff (say, “visual content must be received at least 2 weeks prior to the event”). Explain that this is to ensure everything works and looks right. When artists do comply, it significantly reduces show-day stress. Of course, always expect a few late submissions or changes – have a contingency plan for handling those (like having a powerful laptop with conversion software on-site, and a technician who can quickly encode a weird file to the right format if absolutely needed). But by making deadlines and specs part of the artist advance packet, you’ll find most professionals will adhere to them.
-
Collaborate with VJs and Live Visual Artists: Some electronic music festivals, especially in places like the Netherlands or Australia, have VJs performing live visuals during sets. In these cases, instead of pre-rendered content, the VJ will plug into your system to output live video. Coordinate closely with them about how to integrate smoothly. This might mean allocating an input on your video switcher or LED processor for the VJ’s laptop, and agreeing on a signal format (e.g., HDMI or SDI at 1080p60). Do a line check and content test with each live VJ before their set – perhaps during soundcheck or a designated tech rehearsal time. Confirm their equipment can connect to yours without issue (resolution, frame rate, copy protection settings if HDMI, etc.). It’s wise to have spare adapters (HDMI-to-SDI converters, extra cables) and a secondary backup method (if the VJ’s system fails, can you swiftly switch to a background visual or the feed from another source?). Essentially, treat a guest VJ like another performer: they should have a tech rider that you advance and a quick rehearsal if possible.
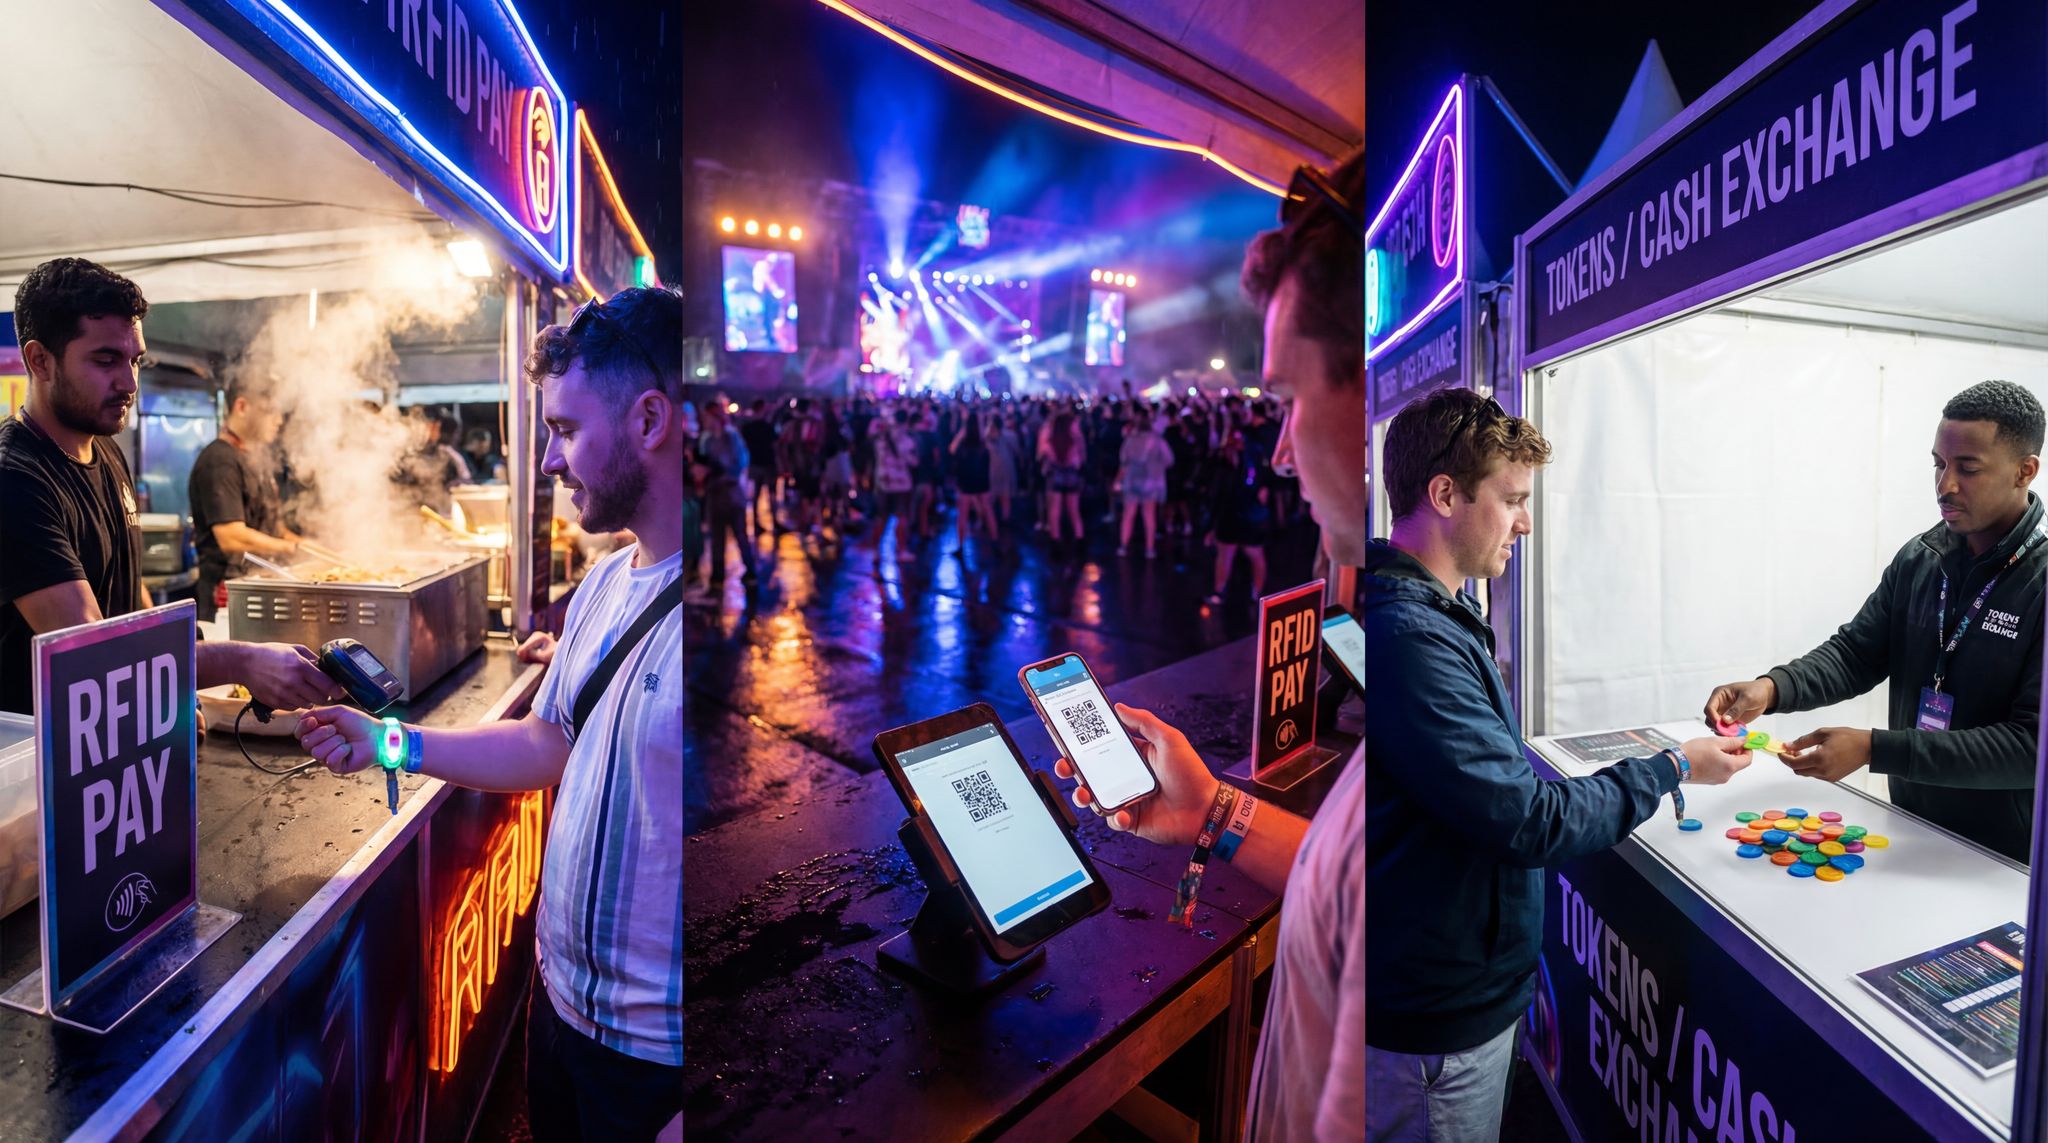
Full Pixel & Analytics Integration
Install Meta Pixel with Conversions API, Google Analytics, TikTok Pixel, Reddit Pixel, and Spotify Pixel on your event pages. Server-side tracking for accurate attribution.
-
Content QA and Playback Rehearsals: Once you have all the media from artists, run it through a quality check on the actual media servers or projectors that will be used. Test for any glitches — do videos play smoothly? Are colors and brightness correct on the LED screen? If content includes audio (like a synced intro video), does it align properly? It helps to schedule a block of time in the venue (or a pre-production studio) to simulate the show: load all the content in sequence, and play through portions of each to ensure there are no surprises. Many seasoned festival organizers in places like Canada or France hold a full technical rehearsal the night before gates open, not with full audience but with the crew, to double-check that lighting, video, and audio all work in harmony. This is where you’d catch if, say, one artist’s visuals have a codec issue or a projector shutter was left closed. Catching it in rehearsal means it can be fixed before the crowd arrives.
-
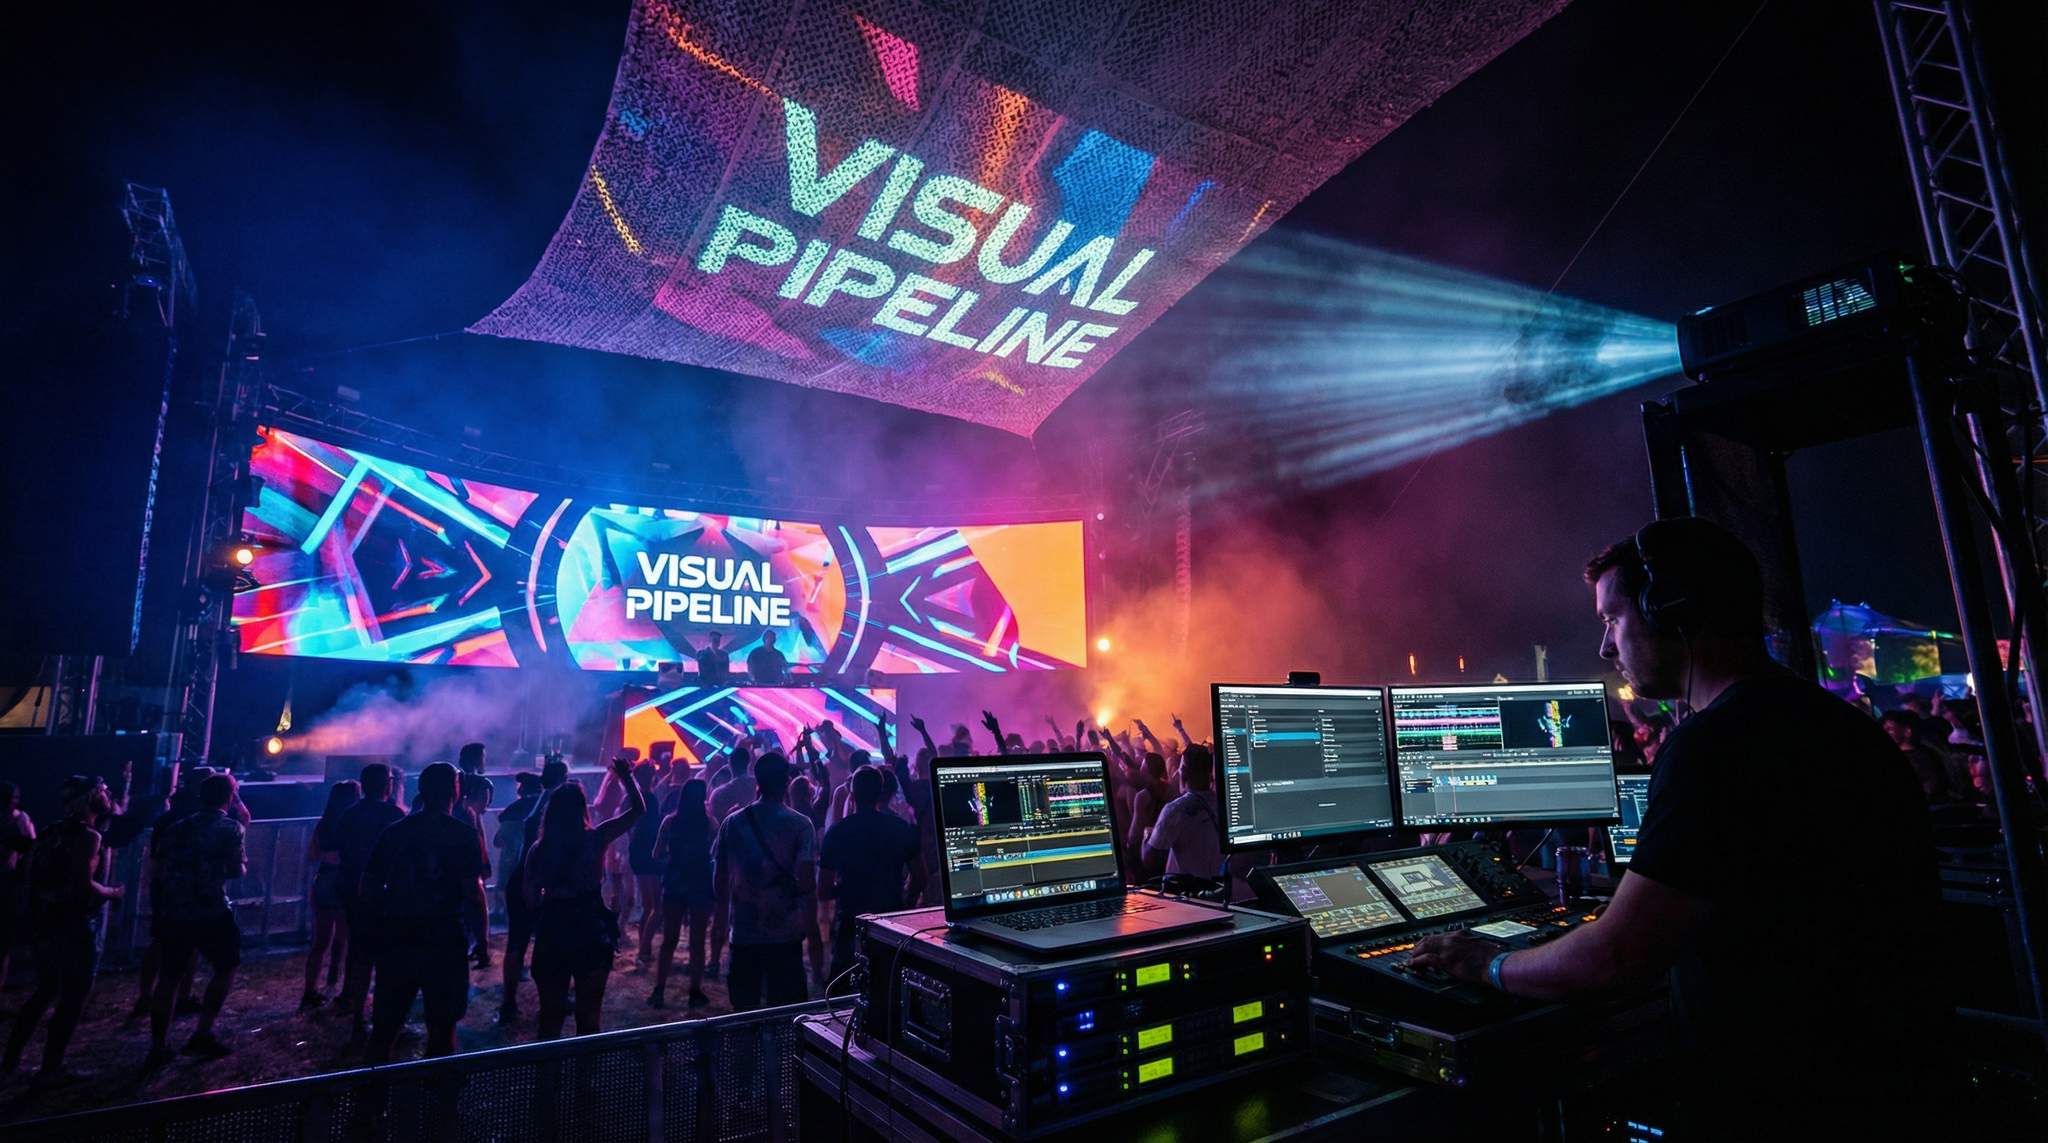
Structured Content Management: Use a consistent system to manage and trigger content during the event. Whether you’re using dedicated media server hardware (like Green Hippo, Disguise, Resolume, etc.) or a simple laptop with VJ software, have a well-organized show file or playlist. Label each clip with the artist name and cue order. It can be helpful to assign one video technician to be the “video DJ” of the event, responsible for playing the right content at the right time or coordinating with the VJs. This person follows the set list and ensures, for example, that when DJ XYZ takes the stage, their visuals are ready to go on screen immediately. Professional shows in cities from Las Vegas to Ibiza often use timecode or stage cues if the visuals are tightly scripted, but for many festivals it’s a manual trigger based on the operator’s cue when the artist starts. Whichever method, make sure everyone (lighting, video, stage manager) is on the same comms system so that if an act is delayed or changes, the content trigger can adapt on the fly.
Need Festival Funding?
Get the capital you need to book headliners, secure venues, and scale your festival production.
By building a content workflow with clear specifications, open communication, and thorough testing, you create a smooth pipeline that can handle the visual needs of a multi-artist festival without breaking down. The artists will appreciate looking great on stage, and the audience gets the full immersive experience.
Redundancy and Synchronization: Keep the Visuals Running Smoothly
Even with great gear and a solid content plan, technical hiccups can happen. Power can flicker, a media server might crash, or different video feeds might fall out of sync. Top festival producers worldwide know to expect the unexpected and build in redundancies to prevent show-stopping failures. Here’s how to bulletproof your projection and LED systems against common issues:
-
Redundant Playback Servers: Never rely on a single media server or playback source for critical visuals. For larger productions – like a major electronic music festival in California or a stadium show in India – it’s standard practice to have at least two synchronized media servers running in parallel (A/B systems). The secondary server (B) runs a clone of the content in frame-perfect sync with the primary (A), often through a media server platform’s built-in backup feature or a downstream switcher that can auto-switch if a signal is lost. If server A crashes or video output freezes, server B is already feeding the screens, and the audience sees no interruption. Even for smaller festivals or single-stage events, having a backup playback device ready is wise. This could be a second laptop with the show content cued up, or a spare media player that can take over with a basic graphic loop in case of emergency. Redundancy can extend to distribution as well: use video splitters or matrix switchers that fail over to a backup input. The goal is zero black screen time – your audience should never know if one system failed because the other kicks in seamlessly.
-
Backup Content and Routing: In addition to entire servers, consider backup content scenarios. For example, have a “safe loop” graphic or an ambient visual that can be used as a fallback on all screens if something unexpected happens during an artist’s set (like if their VJ feed dies). Many festivals in places like Mexico and Spain keep a generic festival logo animation or colorful background ready to go as a safety net. Also, ensure your video routing allows flexibility – e.g., you can quickly route a camera feed or another stage’s feed to a screen if needed, via the switcher. Thinking through “what-if” scenarios and how you’d re-route signals or substitute content will make you much faster at responding on show day.
-
Genlock and Sync Everything: To avoid visual glitches, all your video equipment needs to play nicely together timing-wise. Genlock is the process of synchronizing the output of all video sources and displays to the same clock, so that frames start and end together. In practice, this means using a central timing reference (like a house sync generator or syncing to one of the inputs) for all your LED processors, projectors, cameras, and media servers. Why go to this trouble? Because without genlock, you might get issues like screen tearing (where part of the LED wall shows one frame while the rest shows the next frame) or flashing artifacts when switching sources. Or if you have multiple projectors blending one image, small timing differences can cause the blend area to visibly misalign or flicker. For example, a festival in Seoul that incorporated live camera IMAG (image magnification) on the LED screens learned this the hard way – initially their LED walls were not genlocked to the camera feed, resulting in occasional rolling bars on the video when filmed. The fix was to sync the LED refresh to the camera shutter via genlock, after which the picture was rock solid both in person and on recordings. The takeaway: use genlock capable equipment (most pro LED processors and projectors have a genlock or sync input) and distribute a common sync signal to all of them. It’s a bit of extra setup but prevents a host of mysterious visual glitches. Likewise, ensure all displays and servers are running at the same frame rate (e.g., 50Hz vs 60Hz differences can also cause subtle sync issues).
-
Stable Power and Signal Distribution: Redundancy isn’t only about content; it also involves power and signal cabling. Use uninterruptible power supplies (UPS) on critical gear like media servers and control computers – so even if there’s a momentary power dip or someone trips a breaker, your machines don’t reboot in the middle of a set. For big outdoor shows in places with less reliable grid power (say a remote festival site in Indonesia or a beach festival in Thailand), consider backup generators dedicated for the AV systems with automatic switchover. Additionally, run duplicate signal lines where feasible: many LED systems allow two data feeds (main and backup) so that if one video cable or port fails, the panels instantly take the second feed. Use good quality cables, and secure them (tape down or cable ramp) to prevent disconnections by crew or audience. Essentially, any single point of failure you can eliminate or back up, do it.
-
On-Site Monitoring and Crew Coordination: Assign someone on the tech crew to actively monitor the visuals systems during the show. This could mean watching a preview multi-view screen that shows all video feeds including backup status, or having a software dashboard for the media servers. If an issue is detected (like dropped frames, overheating, etc.), the team can proactively switch or fix it ideally before it impacts what the audience sees. Equip the video team with clear communication (radio headsets or intercom) to coordinate with lighting and stage managers – for instance, if a content glitch happens, they can quickly decide to cut to lights or lasers for a moment while resolving it, rather than displaying a faulty feed. A well-drilled crew that knows the fallback procedures (like switching to backup server B manually, or pulling up the safety graphic) will resolve problems in seconds that could otherwise take minutes.
Conclusion: Test, Verify, and Be Ready for Anything
The difference between a smooth, visually breathtaking festival and one plagued by screen outages or awkward blank moments often comes down to preparation. By choosing the appropriate LED pixel pitch or projection setup for your venue, coordinating content delivery and formats with all your artists, and building redundancy and sync into your systems, you set up a pipeline that’s robust against failure. World-class festival producers from Las Vegas to London live by these principles: plan thoroughly, test everything, and always have a Plan B (and C).
Before the event day, do a full run-through of the visuals pipeline – power up backup servers, trigger every piece of content, and simulate a failover if you can. It’s much better to discover in a rehearsal that one projector doesn’t switch to backup input cleanly than during a live headliner set. Train your team on these systems so everyone knows their role if something goes wrong. When the festival finally kicks off, you can focus on the creative magic, knowing that your content pipeline is solid. The result? Artists can perform without technical distractions, and the audience gets lost in the immersive sights and sounds – exactly the outcome you planned for.
Key Takeaways:
– Match technology to needs: Choose LED screens or projectors appropriate for your audience’s viewing distance and venue layout. The right pixel pitch and throw distance ensure visuals look great without wasting budget.
– Plan content delivery early: Set clear guidelines for visual content (resolution, format, length) and get all media from artists well before the show. Test every piece of content on your system so there are no surprises.
– Coordinate with live VJs: If artists use their own VJs or live visual feeds, integrate them by agreeing on signal formats and doing a tech run-through. Always have a standby image or alternative in case a live feed fails.
– Use backups for everything: Run dual media servers or have backup playback devices ready. Keep spare equipment (LED panels, projectors, cables, etc.) on site. Redundant systems mean the show can go on even if one component breaks.
– Genlock and sync your systems: Synchronize all video sources and displays to a common timing signal to avoid visual glitches. Make sure all gear (servers, LED processors, projectors, cameras) are running in perfect sync.
– Rehearse and troubleshoot: Do at least one full rehearsal or technical run-through. Verify power backups, practice switching to secondary systems, and make sure crew communications are clear. Preparation prevents panic during the live event.
By following these practices, festival organizers can build a projection and LED content pipeline that doesn’t break under pressure, delivering a seamless visual experience that keeps fans engaged and coming back for more.
Frequently Asked Questions
How do I choose the right LED pixel pitch for a festival screen?
Select pixel pitch based on the audience’s viewing distance using the rule that the minimum viewing distance in meters roughly equals the pixel pitch in millimeters. For example, a 5mm LED wall looks crisp from 5 meters away. For crowds 20–30 meters back, an 8mm or 10mm pitch screen delivers quality visuals while reducing rental costs.
What video codecs are best for live festival visuals?
Standard codecs for live events include high-quality MP4 (H.264) and QuickTime Photo JPEG. However, many professional festival media servers perform better with specialized codecs like HAP or DXV, which offer smoother playback. Organizers should specify the preferred format, resolution, and frame rate in the artist advance packet to ensure compatibility.
Why is genlock necessary for LED walls and projection mapping?
Genlock synchronizes the timing of all video sources, cameras, and displays to a single clock reference to prevent visual artifacts. Without genlock, screens may exhibit tearing, flickering, or rolling bars, particularly when filmed or used with IMAG cameras. It ensures that frames start and end simultaneously across all equipment for a stable image.
How can festivals prevent video content failures during a show?
Festivals ensure reliability by using redundant media servers (A/B systems) running in parallel. If the primary server fails, the backup takes over instantly without the audience noticing. Teams should also prepare generic “safe loop” graphics to display if an artist’s specific content crashes and use uninterruptible power supplies (UPS) for all control hardware.
What is the ideal throw distance for festival projectors?
The ideal throw distance depends on the projector’s lens ratio and the venue’s physical constraints. Organizers must match the lens optics to the mounting location to fill the screen without casting shadows from the audience. For outdoor events, high-lumen projectors are essential to compete with ambient light, while short-throw lenses work best for tight indoor spaces.
How should production teams coordinate with guest VJs?
Production teams should integrate guest VJs by assigning specific video inputs on the switcher and agreeing on signal formats like HDMI or SDI at 1080p60. It is critical to perform a line check and content test before the set to verify compatibility. Additionally, keep a backup visual source ready to switch to if the VJ’s system fails.
What should operators consider when installing a projection system for entertainment venues?
When outfitting an entertainment venue, operators should prioritize laser projectors with sealed optical engines to minimize maintenance and combat ambient light. It is also crucial to account for HVAC vibrations that can misalign the image, and to use motorized lenses with saved presets to easily adapt the visual mapping for different stage configurations or event types.